Help Toolbar (select a button to browse other online help sections) Home Tutorials Resources Search Tabs & Menus Button Bar Table & Data Display |
Viewing Earning-Related Transactions
During the payroll review process, it is sometimes necessary to review past earning earning entries, whether they be for the current pay sequence or for a historical pay run. This tutorial will show you how to review earning-related transaction that have been calculated for each pay run.
NOTE: Click on the images below to view them at full size
Part A) To view payroll transactions:
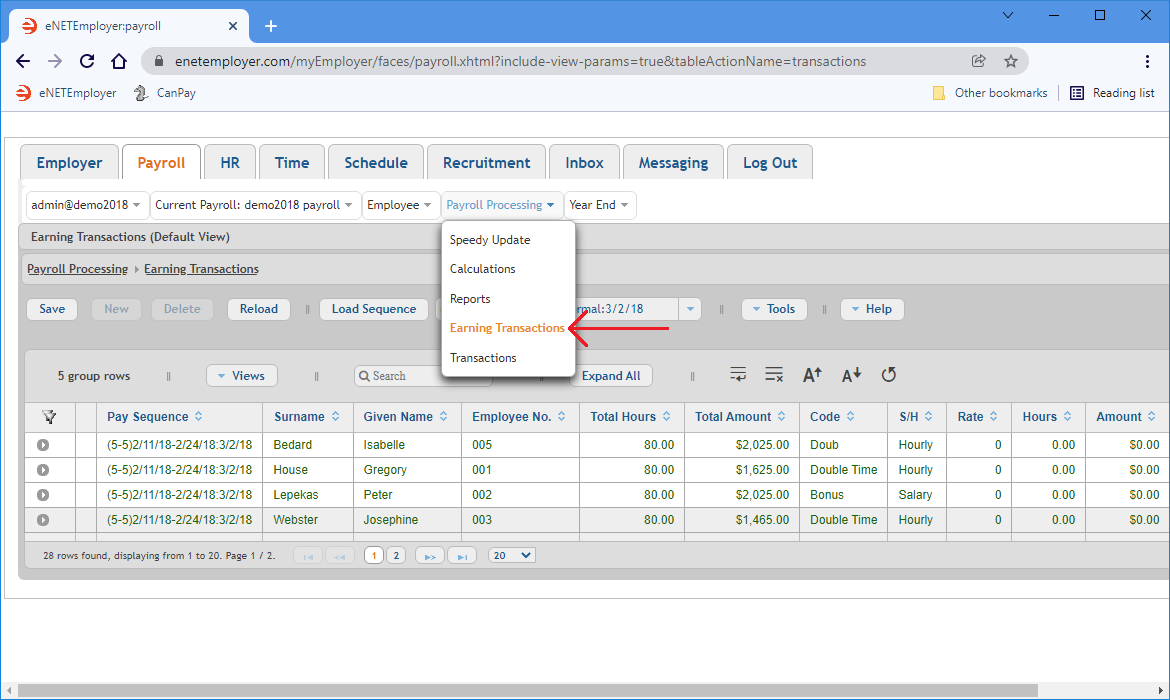
- Choose the Payroll Processing - Earning Transactions menu option. This opens the Earning Transactions screen where you can view earning-related transaction data for all pay sequences. The table displays the current (open) pay sequence in the top row, followed by past (closed) pay sequences.
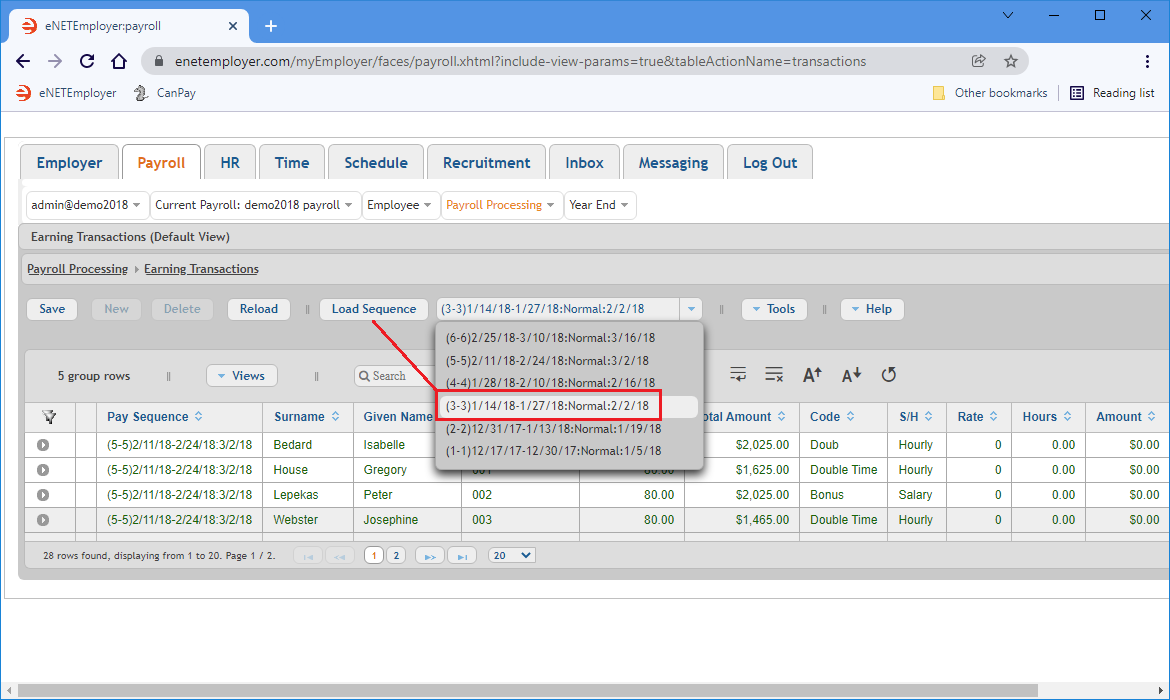
- Click on the drop-down list that appears beside the Load Sequence button. This list shows all pay sequences associated with the active payroll, beginning with the current (open) sequence at the top, followed by the historical sequences (ordered by date).
- To view the transactions for a past pay run, choose the desired pay sequence from the list, and then select the Load Sequence button. This will update the table to display each employee's earning-related transactions for the chosen pay sequence.
Example: For this tutorial, we will work with the current pay sequence to show you how the transactions update after each pay calculation.
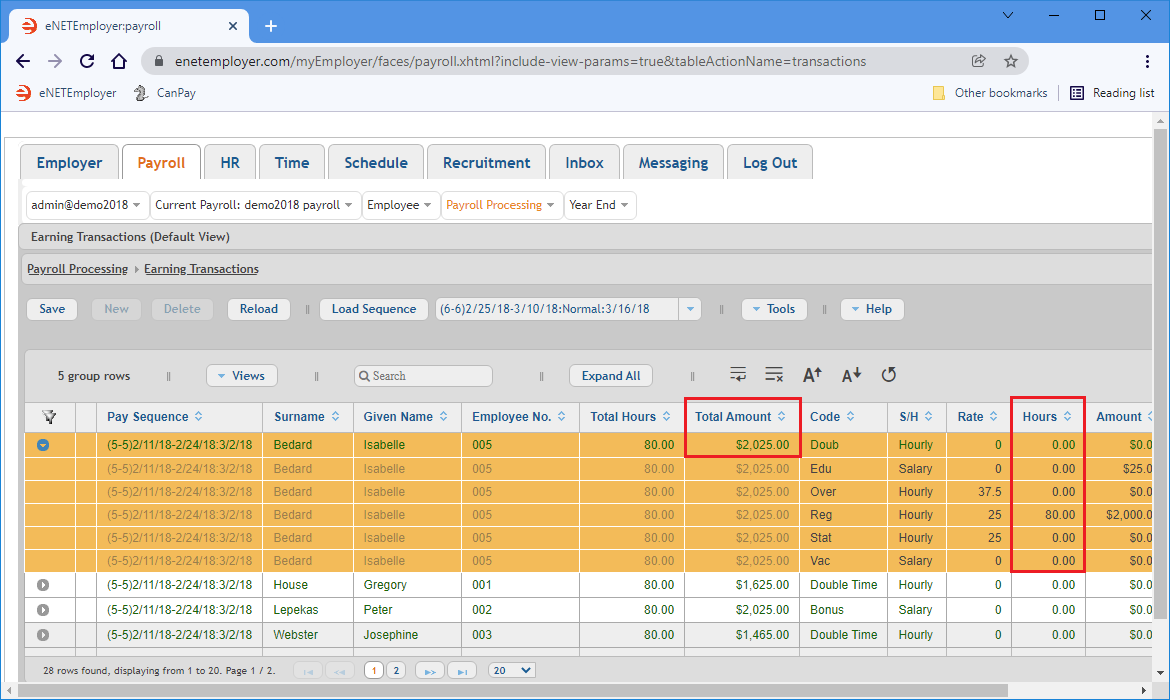
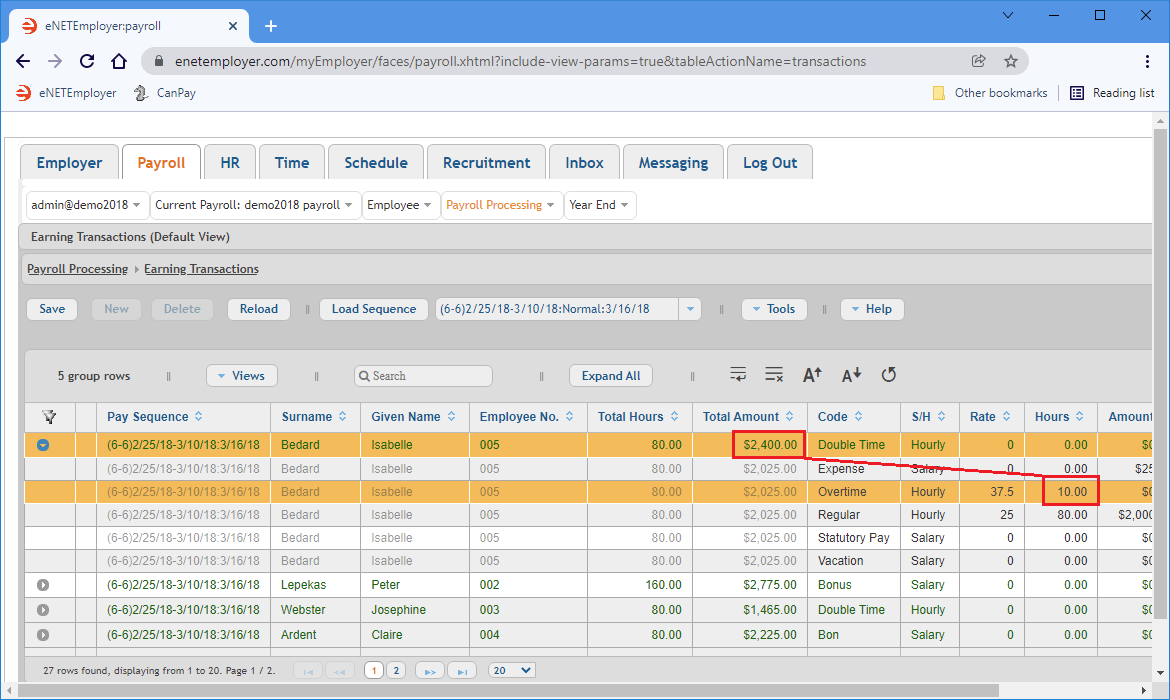
- Expand the first row in the table by clicking on the downward facing arrow at the left side of the row. This reveals a series of sub-rows that show each of the employee's earnings and their corresponding amounts.
Example: Take note of the Regular and Overtime amounts for Josephine, our sample employee. Her 85 hours for this period are based on 80 regular hours and 5 overtime hours.
To demonstrate how this screen records the earning transactions after each pay calculation, we will adjust Josephine's Overtime hours to reflect additional hours that she has worked - a total of 10 overtime hours for the period.
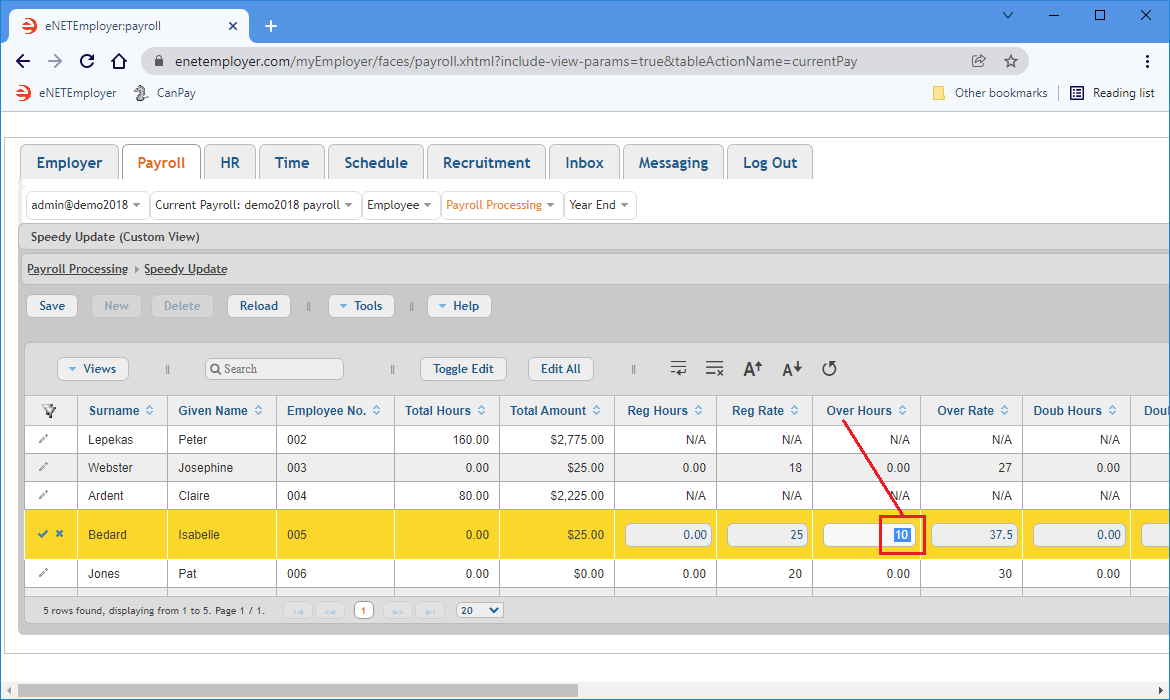
- Choose the Payroll Processing - Speedy Update menu option. This opens the Speedy Update screen where you can input the hours that your hourly employees have worked for the pay period. Speedy Update Help Screen...
- We will edit the row for Josephine, and then move to the Overtime Hours cell and enter the number 10 to represent the number of extra hours that she has worked for the period.
- Save your row changes by using the Pencil icon at the left of the row or by choosing the Save button from the Button Bar above the table.
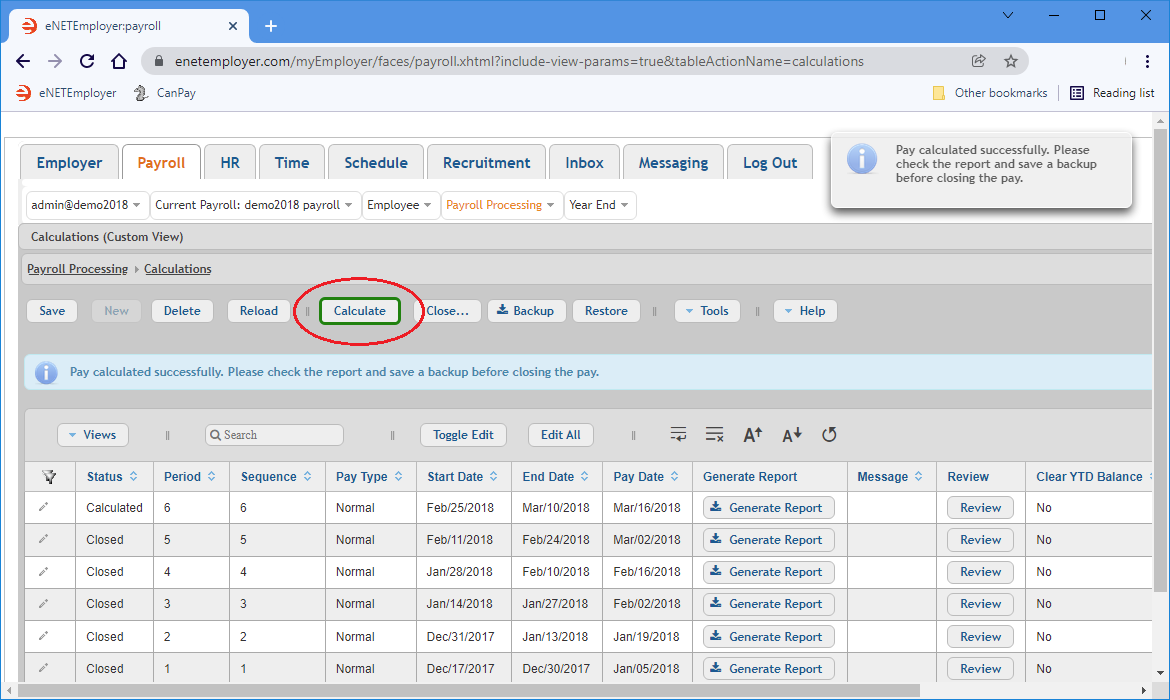
Now that the earning amounts have been updated, we need to calculate our payroll once again so that the Earning Transactions screen can display the revised values. - Choose the Payroll Processing - Calculations menu option. This opens the Calculations screen where you can calculate your payroll. Calculations Help Screen...
- Choose the Calculate button from the Button Bar located above the table. Once the calculations are complete, a message will appear indicating the successful payroll calculation.
With the payroll calculated, we can now return to the Earning Transactions screen to review the updated transactions. - Choose the Payroll Processing - Earning Transactions menu command to open the Earning Transactions screen once again. Notice how the Overtime Hours cell has been updated to reads 10, and the revised Total Amount has also been updated. This completes the tutorial on how to review your employee's earning transactions.
See Also:
