Help Toolbar (select a button to browse other online help sections) Home Tutorials Resources Search Tabs & Menus Button Bar Table & Data Display |
Adding Employees Using an Employee Template
For this tutorial, we will add several employees to the payroll using an employee Template so that each new person will be assigned a series of pre-defined payroll items and settings automatically. Templates can simplify the set up process for new employees because you can define the details needed for one staff member, and then apply the same details to many new staff that share similar employment characteristics.
Before you begin: You should have one or more employee templates in place and ready to go before you begin this tutorial. If you have yet created any employee templates, you should exit this tutorial and create one before proceeding. To learn how to create an employee template, refer to the Create an Employee Template tutorial where it discusses how to create both an Hourly and a Salary template. |
Looking to add employees manually? If you wish to add employees manually (one at a time), refer to the Adding Employees Manually tutorial. |
This tutorial has two sections:
NOTE: Click on the images below to view them at full size
To Add an Hourly Employee:
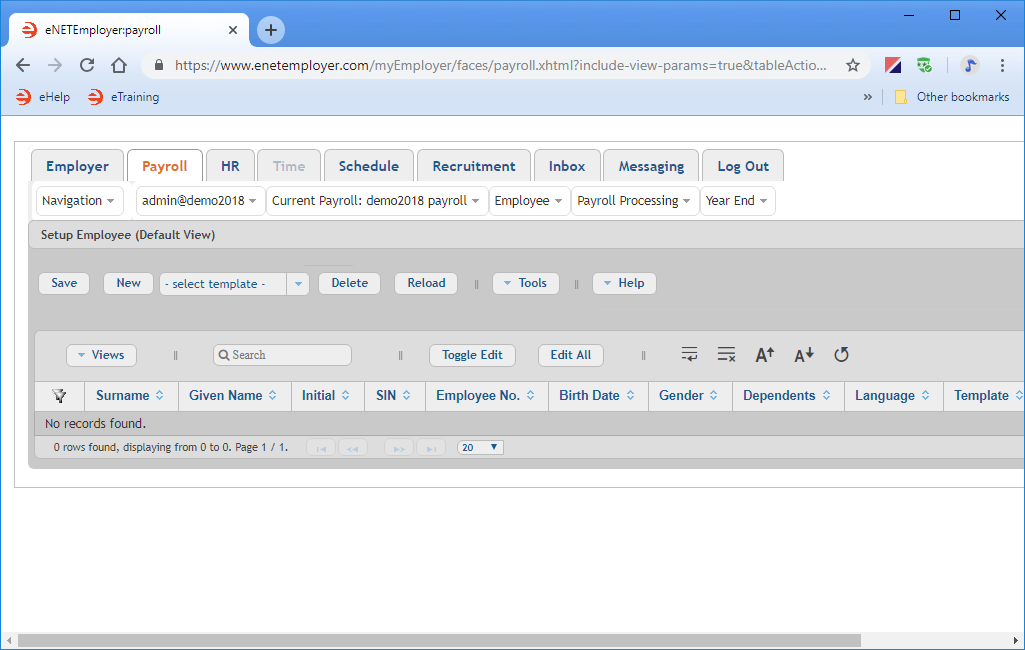
- From the Payroll tab, open the Employee - Setup Employee screen that is used to define the detailed payroll, tax, payment and all other settings required for each employee in the payroll. You can use the various features to add and define settings for new employees or to review or change settings for existing employees.
- Select the drop-down list immediately to the right of the New button and then choose the Hourly option (several templates options will appear in this list if you are working through the Quick Start Guide in order, or if you have already completed the Creating Employee Templates tutorial).
- With the Hourly option selected in the drop-down list, choose the New button. This inserts a new employee row into the table and activates Edit Mode for the cells. The employee that you added will be assigned the pre-defined settings that are appropriate for hourly employees as defined in the chosen template.
- Complete the data for each cell as they relate to each new employee that you are adding (press <F1> to use the Online Help system if you need to look up a definition for the various cells).
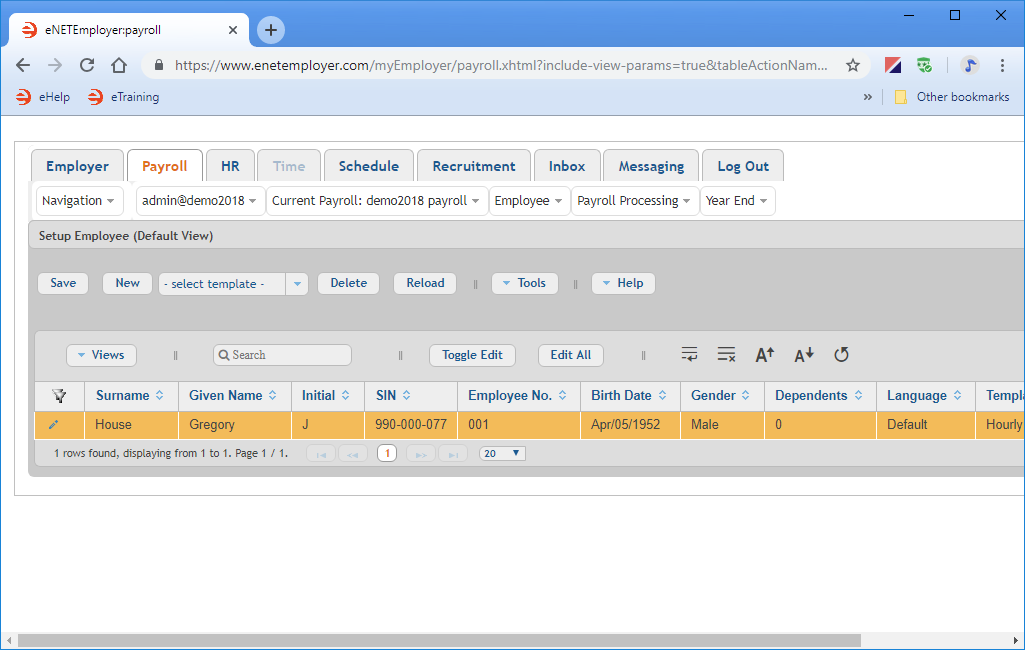
Example: In our example below, the first employee is Gregory House. We shortened his Employee Number (001) for easier reporting and set his Language to Default to ensure that eNETEmployer uses the default language option for him. Notice how the Template cell reads Hourly to indicate that the corresponding template was used when the employee was added.
- Now that you know how to add an employee based on a pre-defined template, add two more hourly employees by repeating steps 2 and 3 above (complete the data for each cell as they relate to each new employee that you are adding).
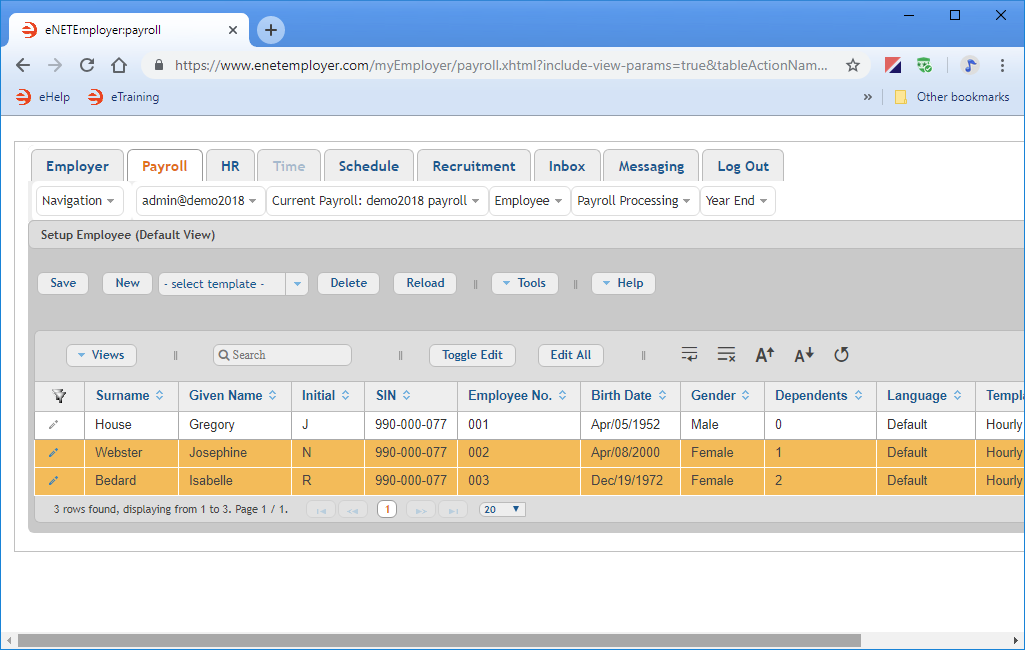
Example: In our example below, our we have added two more hourly-based employees to our payroll.
- When you have finished entering your employee details, select the Save icon (the check mark located at the left side of the row). This accepts the changes and the Edit Mode icons are removed to indicate that the row has been saved.
- Repeat the preceding steps to add your remaining hourly employees.
Note: Ensure that you have the correct template selected for each employee before you choose the New button. If you add an employee without first choosing a template, they will not be assigned the desired settings for their respective employee type (and you will need to apply all of the missing settings manually). If you forget to choose a template before you add the employee, you can simply reapply the template to the employee in order to assign them the correct settings. Refer to the Reapplying an Employee Template note for more details.
| Surname | Given Name | Initial | SIN | Employee No. | Birth Date | Gender | Dependents | Language | Template |
|---|---|---|---|---|---|---|---|---|---|
| House | Gregory | J | 990-000-077 | 001 | Apr/05/1952 | Male | 0 | Default | Hourly |
| Surname | Given Name | Initial | SIN | Employee No. | Birth Date | Gender | Dependents | Language | Template |
|---|---|---|---|---|---|---|---|---|---|
| Webster | Josephine | N | 990-000-077 | 003 | Apr/08/2000 | Female | 1 | Default | Hourly |
| Bedard | Isabelle | R | 990-000-077 | 005 | Dec/19/1972 | Female | 2 | Alternative | Hourly |
To Add a Salary Employee:
- Select the drop-down list immediately to the right of the New button and then choose the Salary option (as mentioned earlier, several templates options will appear in this list if you are working through the Quick Start Guide in order, or if you have already completed the Creating Employee Templates tutorial).
- With the Salary option selected in the drop-down list, choose the New button two times. This inserts two new employee rows into the table and activates Edit Mode for the cells. The employees that you added will be assigned the pre-defined settings that are appropriate for salaried employees as defined in the chosen template.
- Complete the data for each cell as they relate to the new salary employee you are adding.
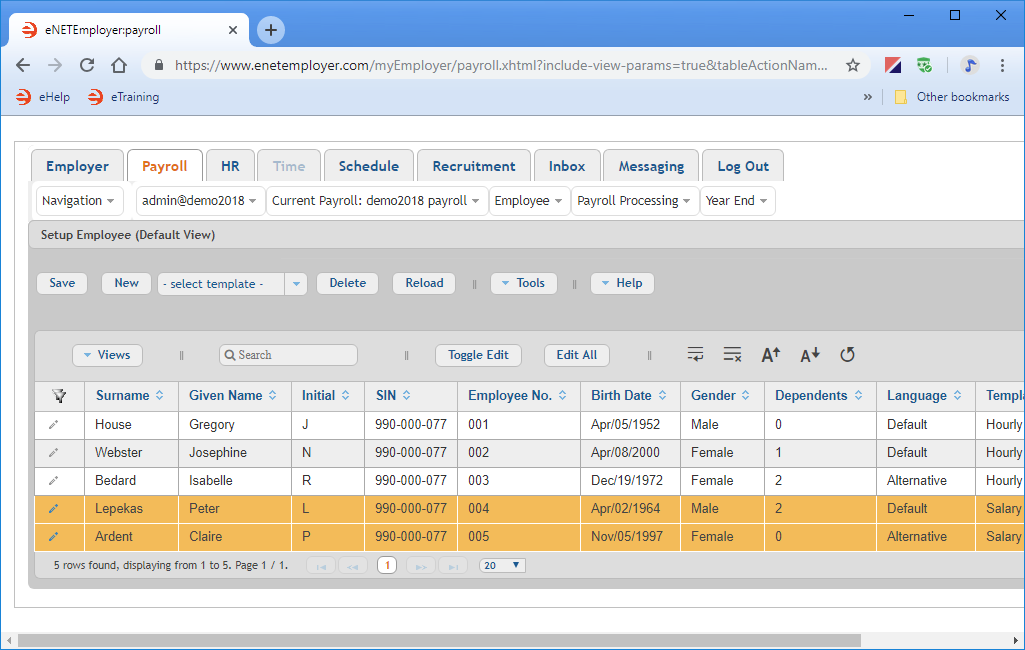
Example - In our example below, we have added two salary employees. Each person will be assigned earrings that are appropriate for their employee type (e.g. Salary, Commission, Bonus). Notice how the Template cell reads Salary to indicate that the corresponding template was used when these two employees were added.
| Surname | Given Name | Initial | SIN | Employee No. | Birth Date | Gender | Dependents | Language | Template |
|---|---|---|---|---|---|---|---|---|---|
| Lepekas | Peter | L | 990-000-077 | 002 | Apr/02/1964 | Male | 2 | Default | Salary |
| Ardent | Claire | P | 990-000-077 | 004 | Nov/05/1997 | Female | 0 | Alternative | Salary |
This completes the tutorial on adding an employee using an employee template.
Note: If you are working through the payroll setup process in order, you will need to continue through the Employee menu to finish entering the data that is required for each new payroll employee.
See Also:
- Setup Employee help page (Payroll tab)
- Adding Employees Using an Employee Template
- Adding Employees Manually
- Deleting an Employee
- Creating an ROE
Other Employee Settings:
- Employee address settings
- Employee's status settings (terminations, leaves, etc.)
- Employee payment settings
- Employee tax settings
- Employee bank accounts
- Employee earnings
- Employee deduction and benefit Items
- Employee accumulator items
- Working with an employee's YTD earnings
- Working with an employee's YTD deductions and benefits
- Working with an employee's YTD accumulators
- Importing employees from another payroll


